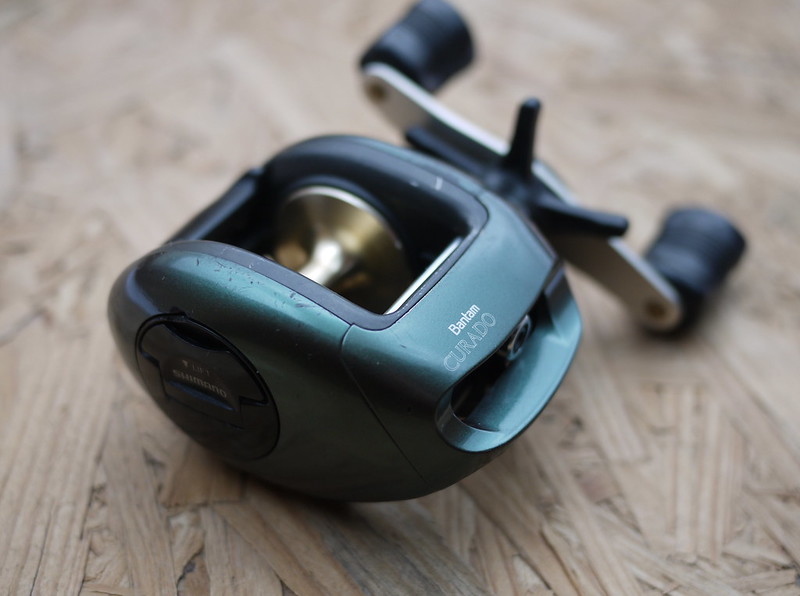
You can find our selection of parts for your Curado Bantam on the following page:
Shimano Curado Bantam Upgrade
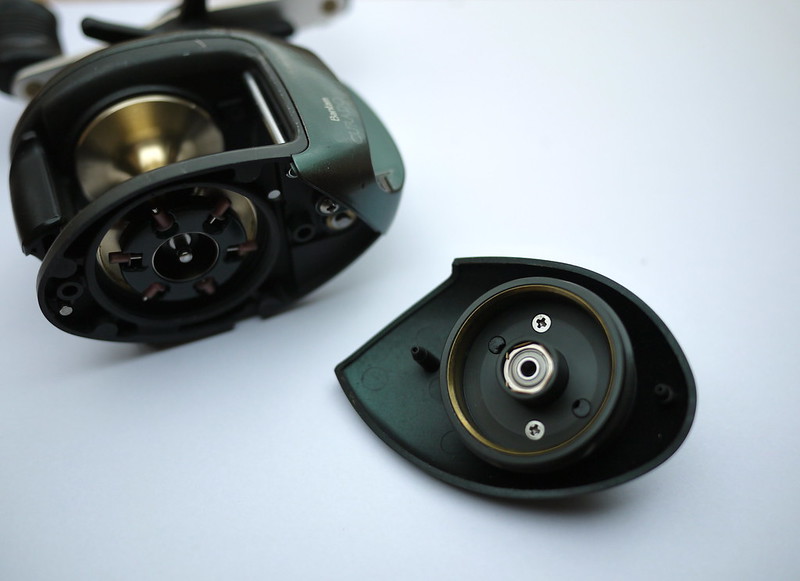
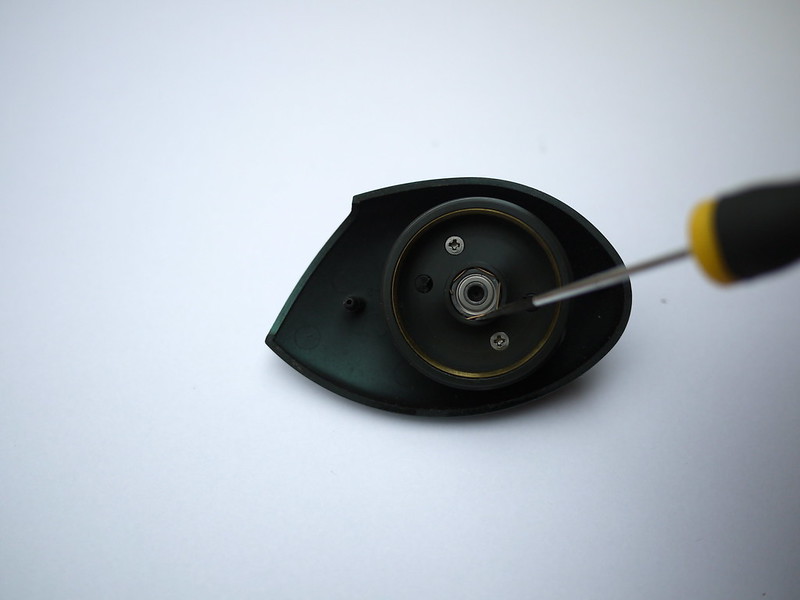
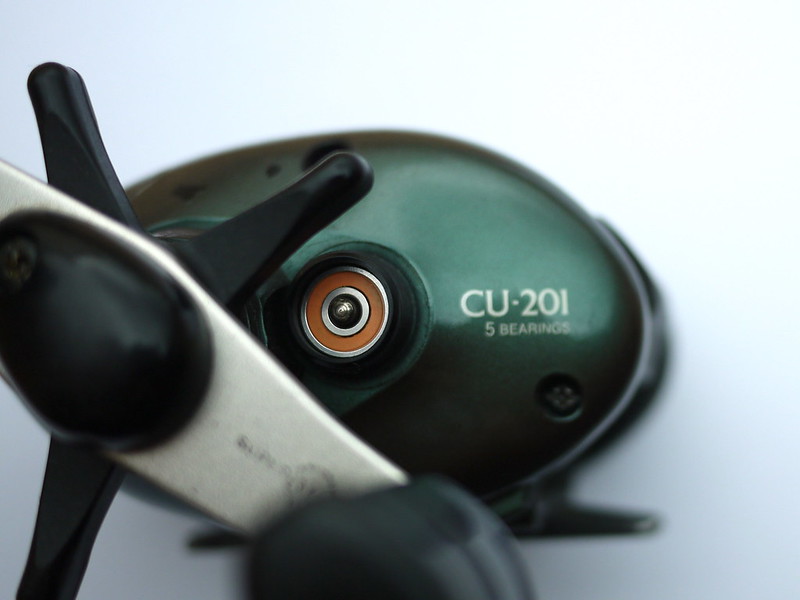
– Open the side plate to access the adjustment weights; the first bearing is located above it. To remove it, simply remove the metal clip holding it in place. You can use a precision screwdriver for this.
PLEASE NOTE: you should hold it in place with your finger to stop the part flying off when it comes loose!
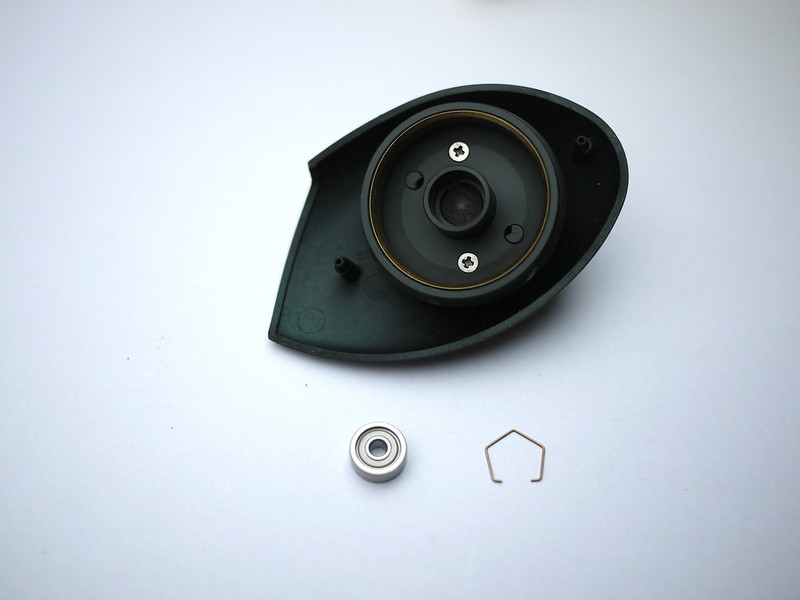
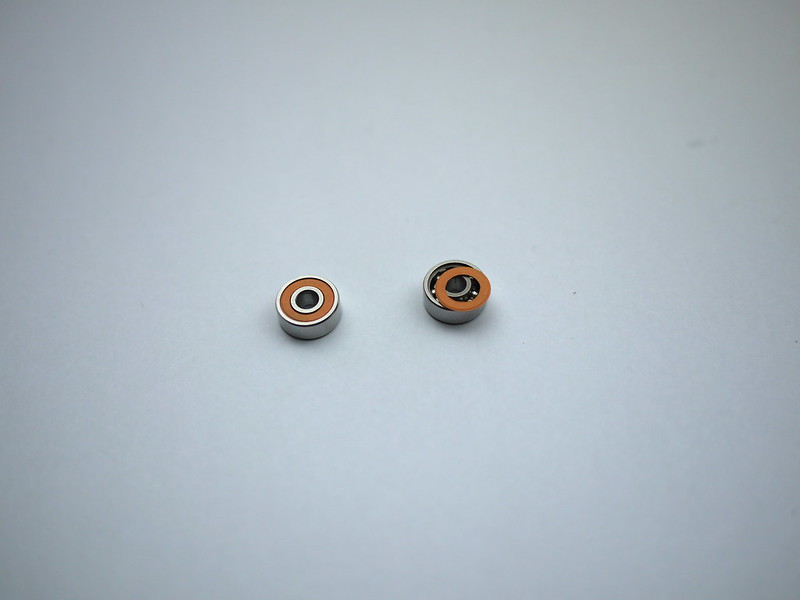
-Carefully remove the orange part (the seal) that protects the bearing using a sharp object (in this case, a fishhook). You can remove one or both – it’s up to you.
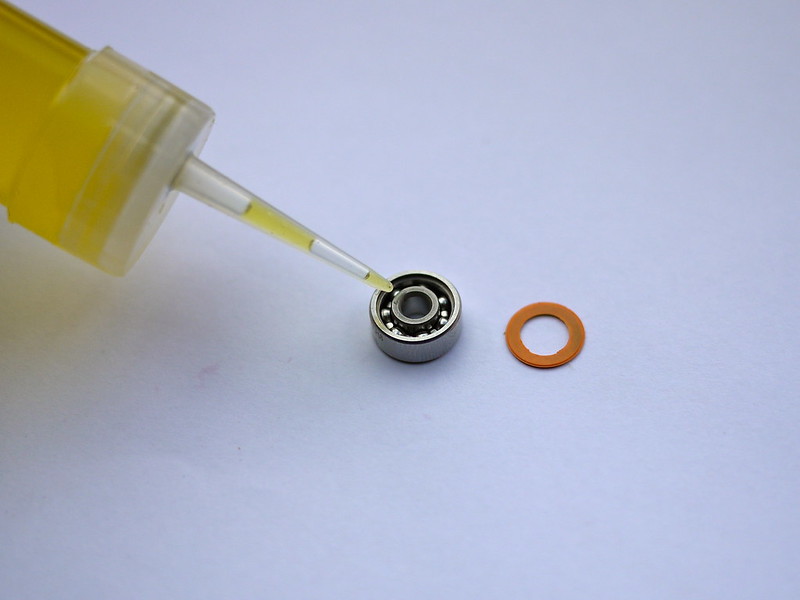
– Apply a drop of special bearing oil to the bearing. It’s then up to you whether or not to replace the seal. Fitting it protects the bearing from dirt but must be removed every time you want to oil the bearing, whereas not refitting it simplifies maintenance but leaves the mechanism more exposed. I opted for the second option.
– Place the new bearing in the housing and put the small metal part back in position. For the photo, I put the orange seal back on the bearing.
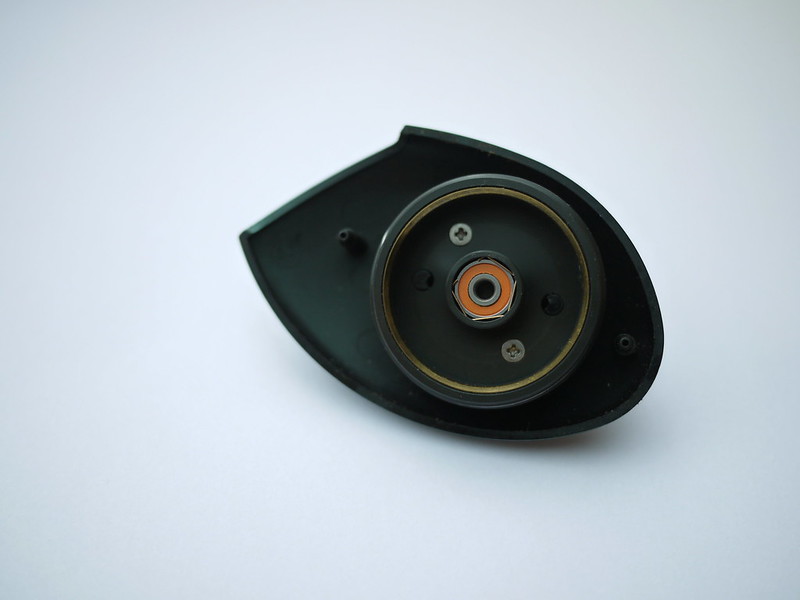
– You can close the sideplate. The second bearing is located in the friction brake lever at Shimano
– Unscrew the knob and remove the spring located between the knob and the bearing
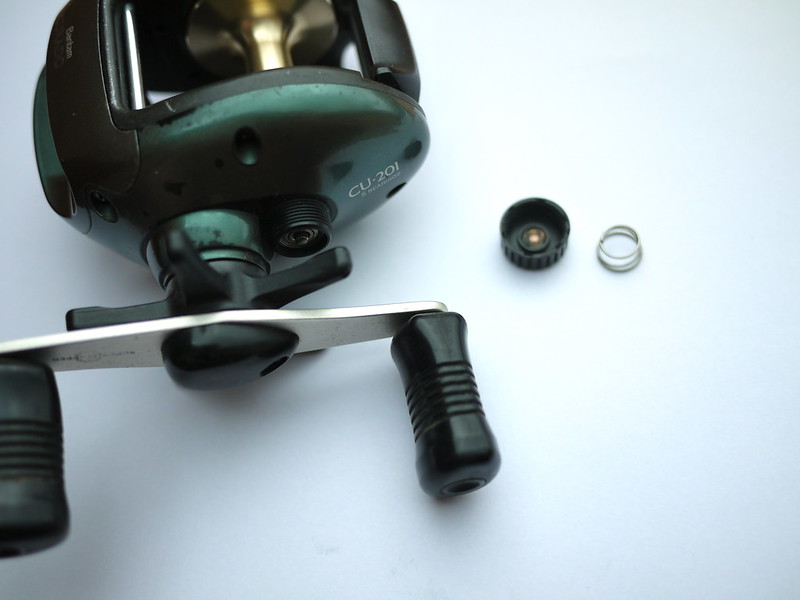
– Remove the bearing (if it is really stuck, removing the spool via the sideplate may make it easier to take out).
– Fit the new bearing after oiling it as described above. In this case, I put the orange seal back in place on the bearing for the photo.
– Replace the spring and screw the knob back on.
It couldn't be simpler – it only takes two minutes! The ceramic bearings are a bit noisier than the originals, but don't worry, that's perfectly normal.